Painting floral gift wrap

Painting your own floral gift wrap
Fancy making your own painterly gift wrap? With a few simple shapes you can paint your own floral pattern perfect for gift wrap that most definitely will steal the show. I always think it is a lovely way to add a personal touch to gifting and everyone I’ve made it for has ended up keeping the painted sheets or reusing them for their own wrapping. Here’s what you’ll need to get painting
Materials:
Poster Roll (I got mine from Hobbycraft)
Gouache Paints, you can also use watercolour for this it will just be a less opaque look to the painting(I used a peach, pink, green, blue and white but you could use whatever colours you fancy)
Round tip Paint brush
Pot of water & Mixing plate
How to paint your own floral wrap design
Firstly cut a length of paper to your desired size, hand painted wrap works well for small sized gifts such as notebooks, books and jewellery boxes.
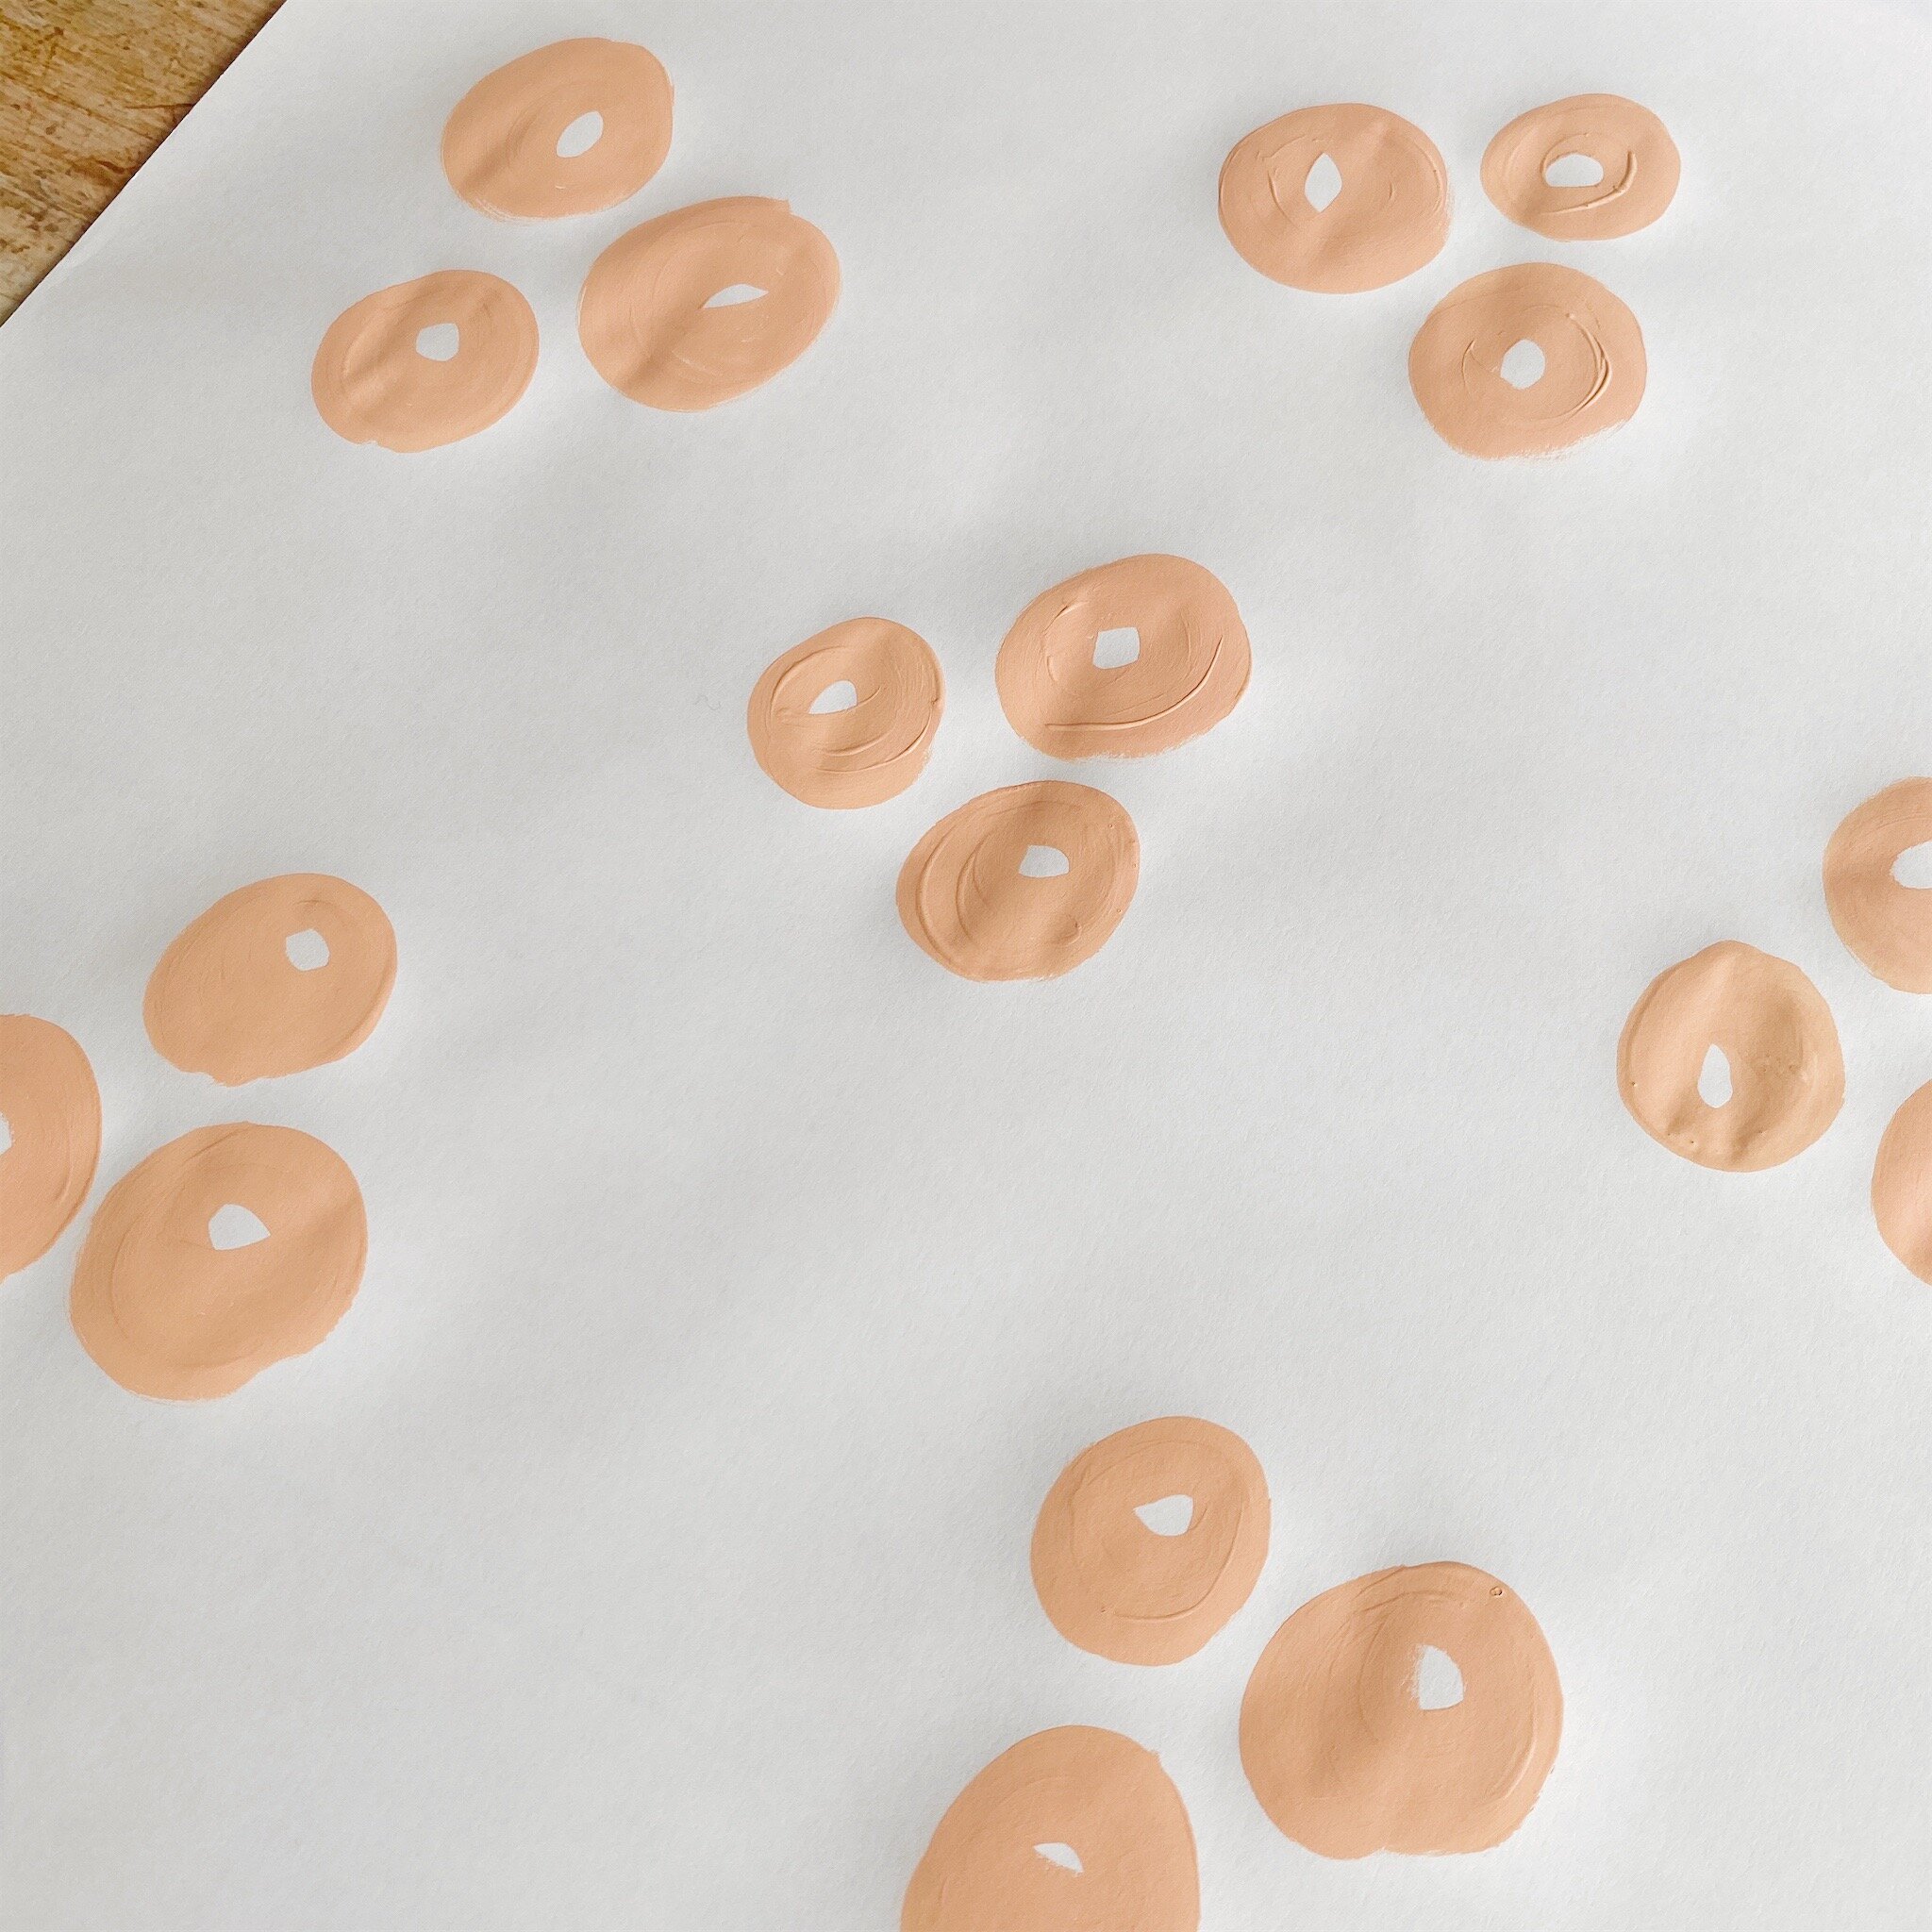
Begin with your first colour to paint the initial floral shapes, choose a light colour that you’ll be able to work over. Light pinks, peach and yellow would would work well for your floral base, paint 3 circle shapes next to one another so they are placed in a triangle leaving a smaller circle in the middle. Repeat this motif across the wrapping paper leaving equal distance between your floral motifs, if you don’t feel confident working by eye use a ruler to mark out the equal distances.
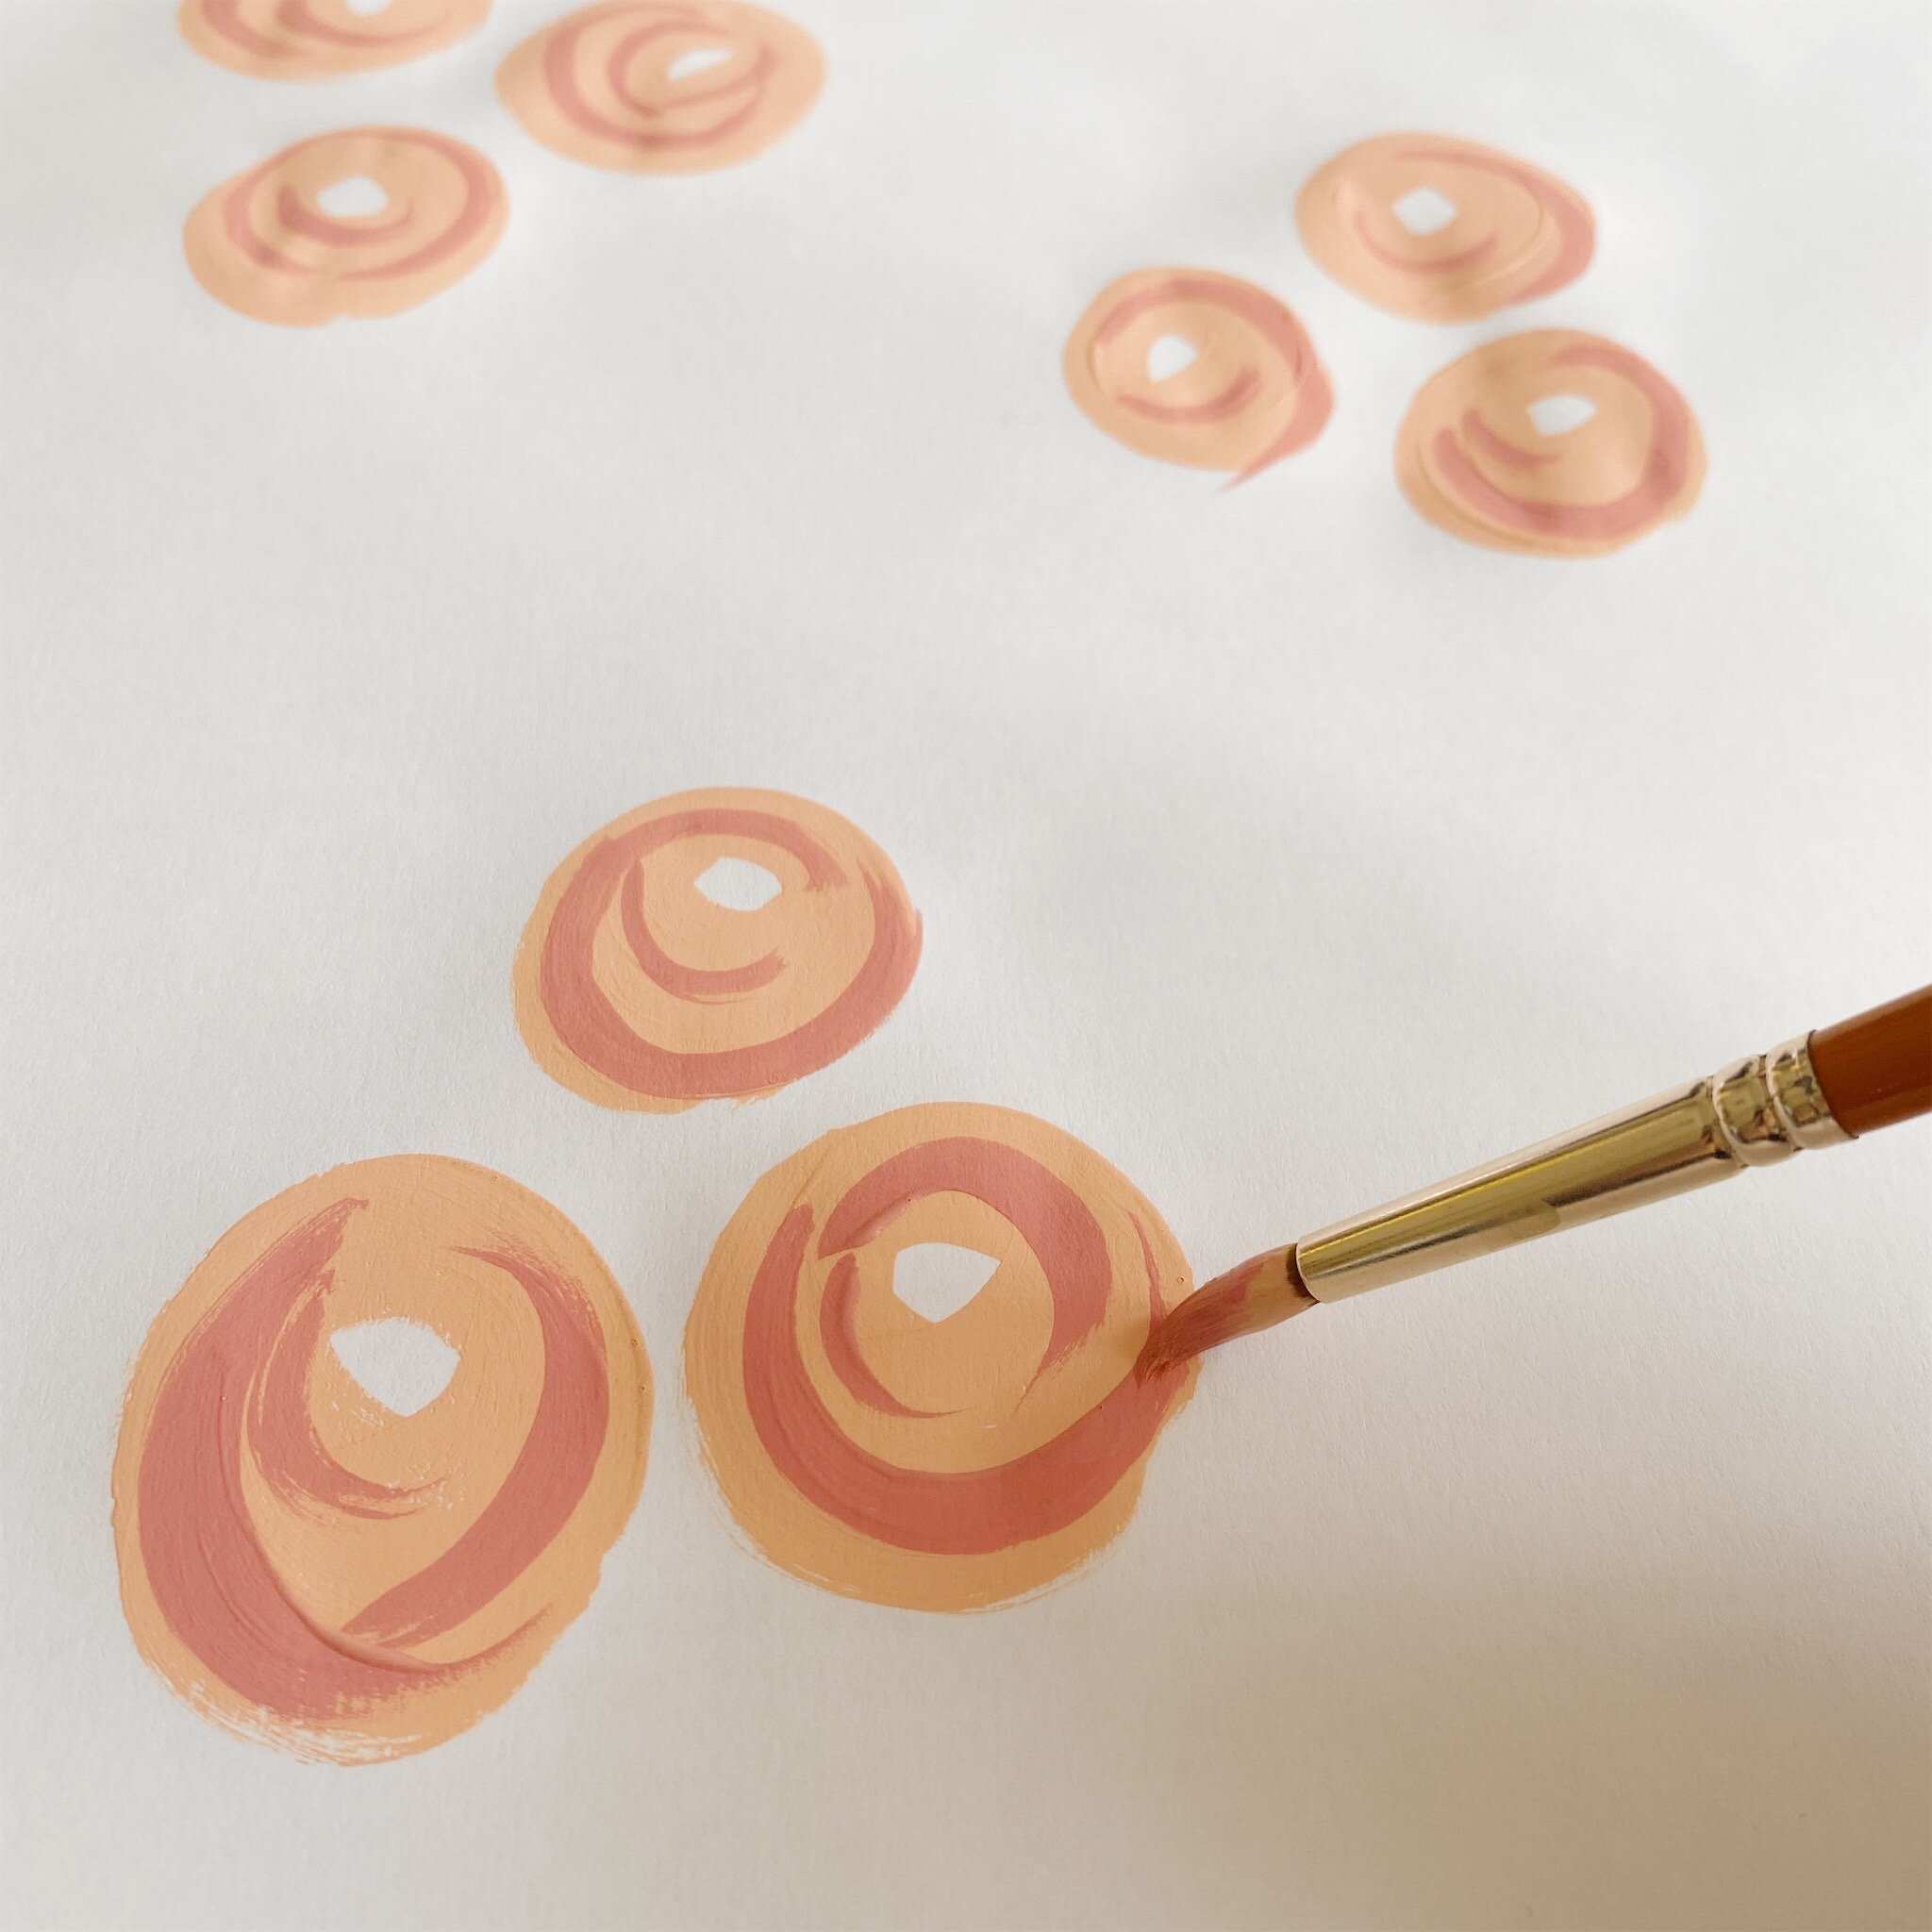
Now with a darker shade of your base colour, add the detail by painting rounded lines, inside of the circle. You can see they are created with one brush stroke and vary in sizes on each of the florals.
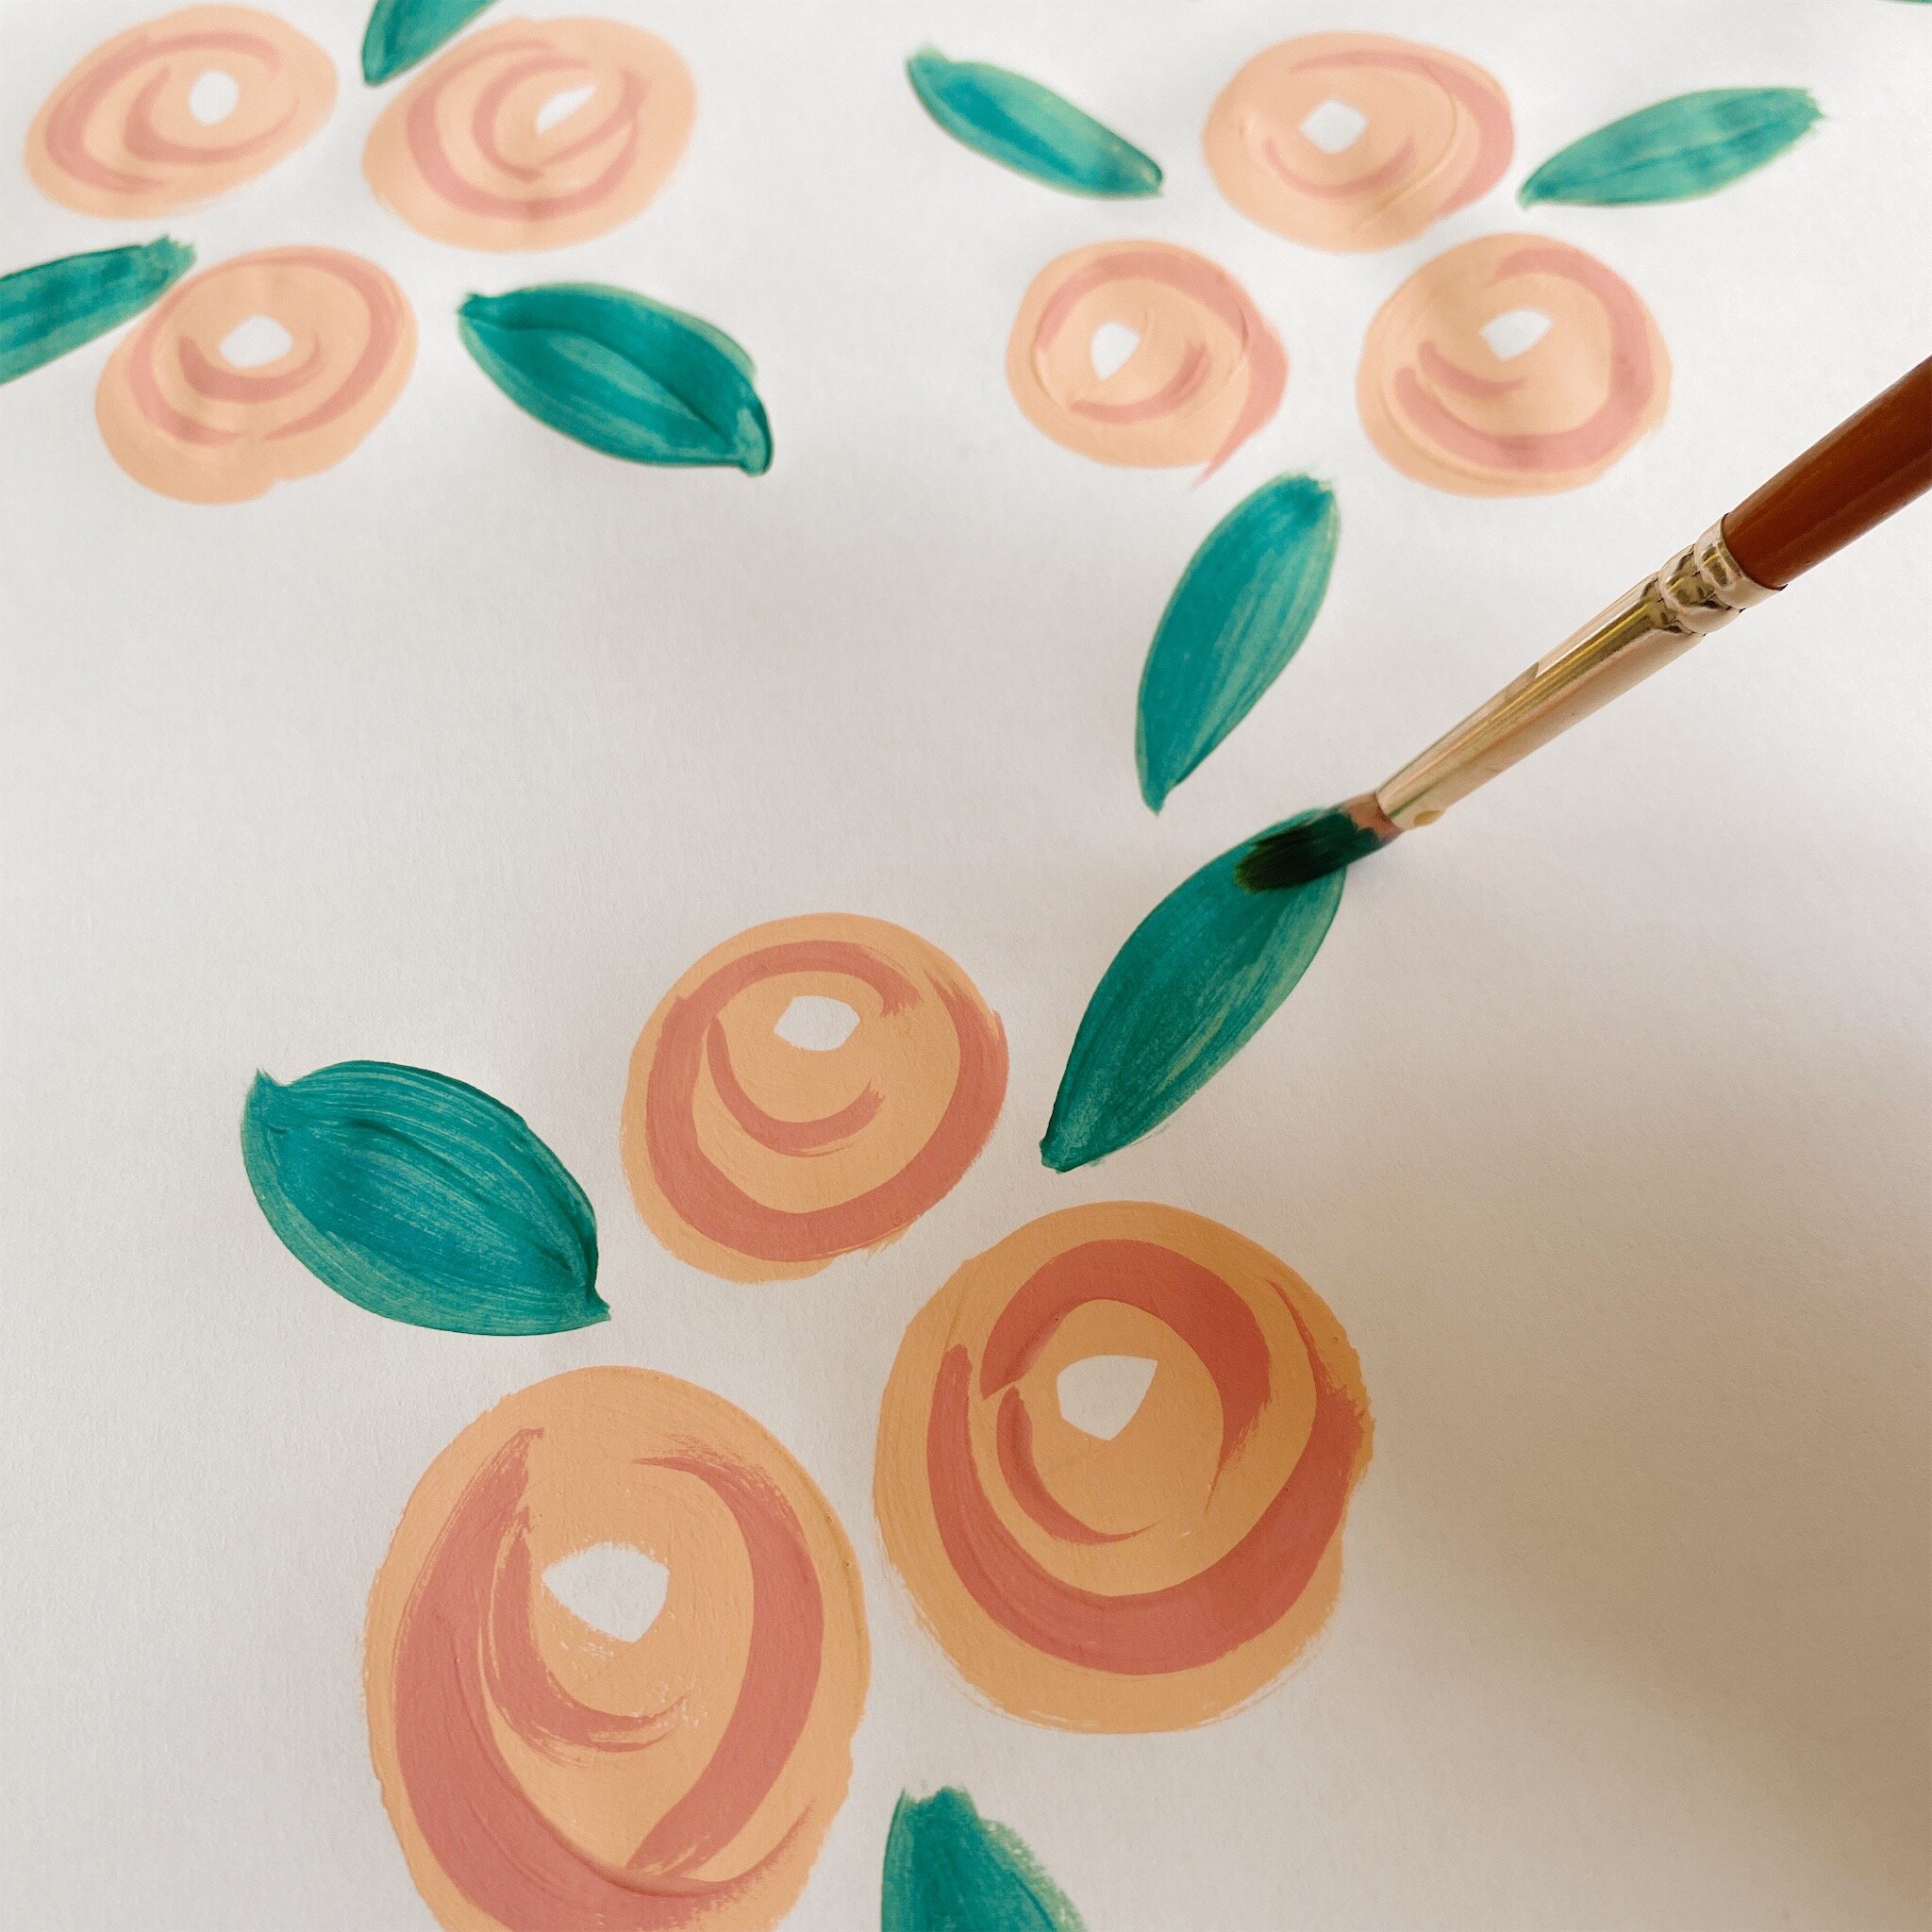
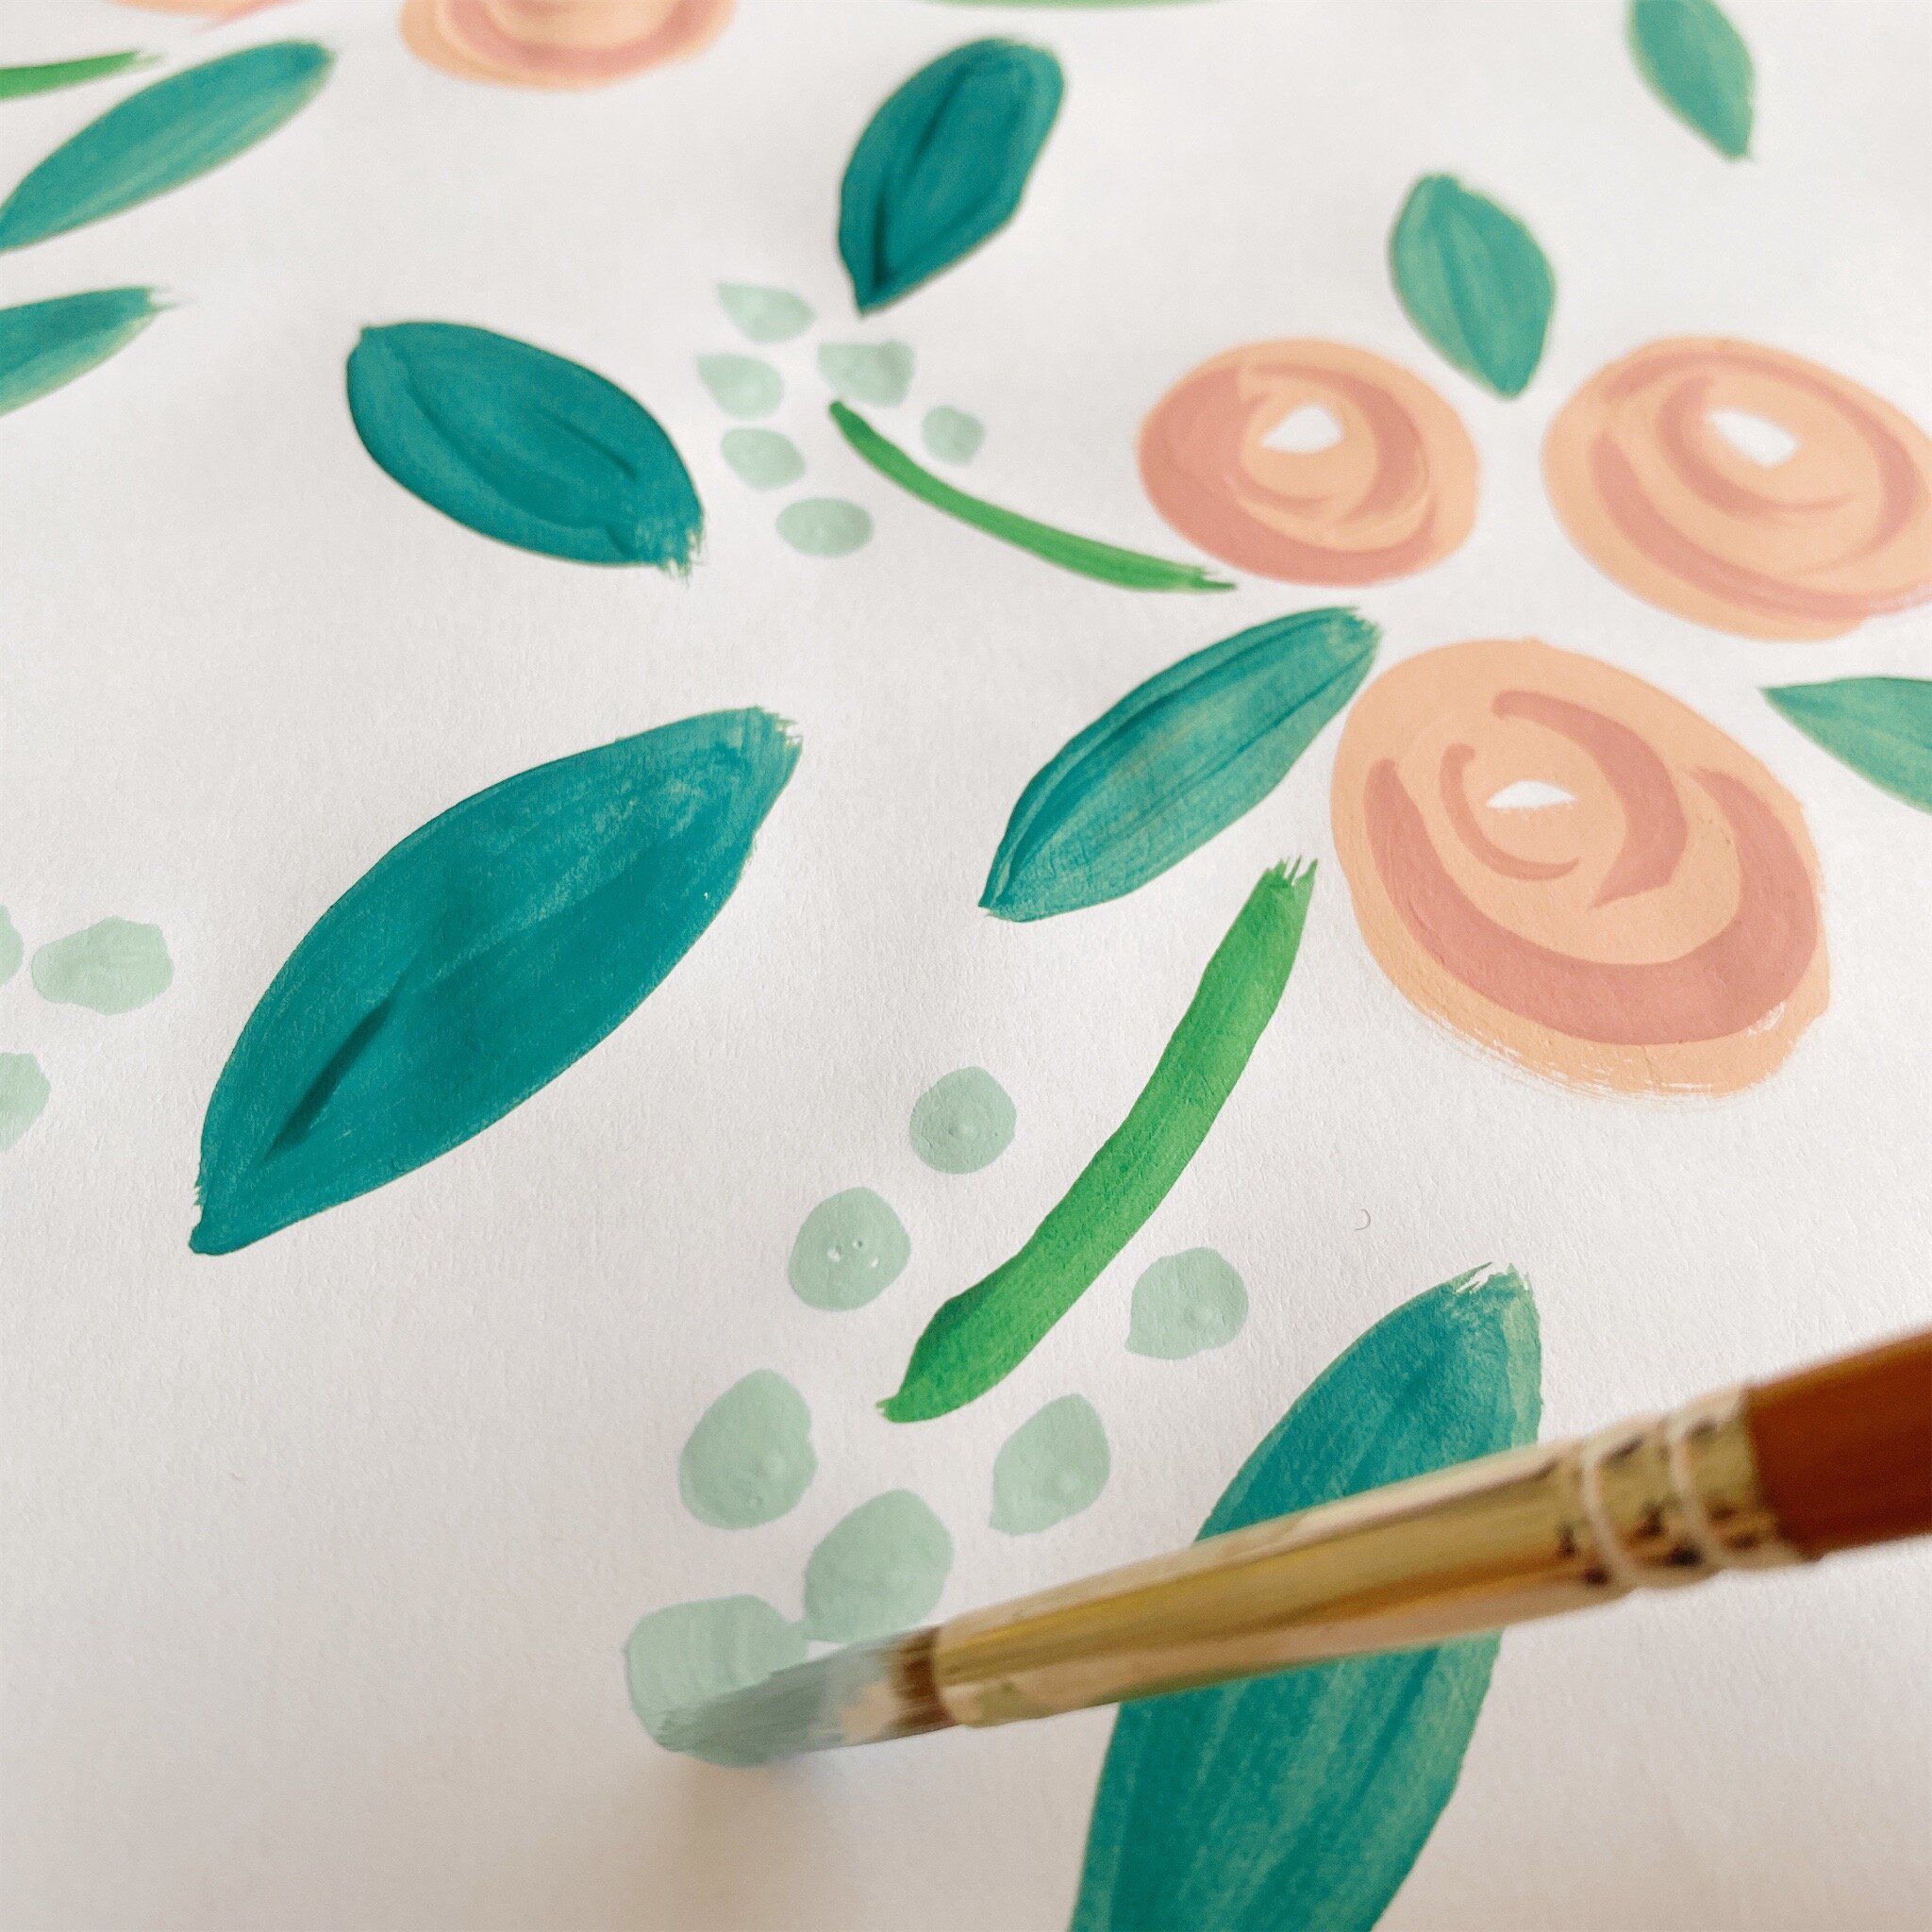
Now it’s time to paint your leaves, these can be achieved by painting a curved line and then painting another curved line and joining their points and colouring in, like an elongated oval with points each end. Paint your leaves working out from your triangle of florals. Add in filler leaves between your main motifs, working in different directions, it is important for them to all work in the different directions so that the pattern doesn’t appear too rigid and has movement and flow.
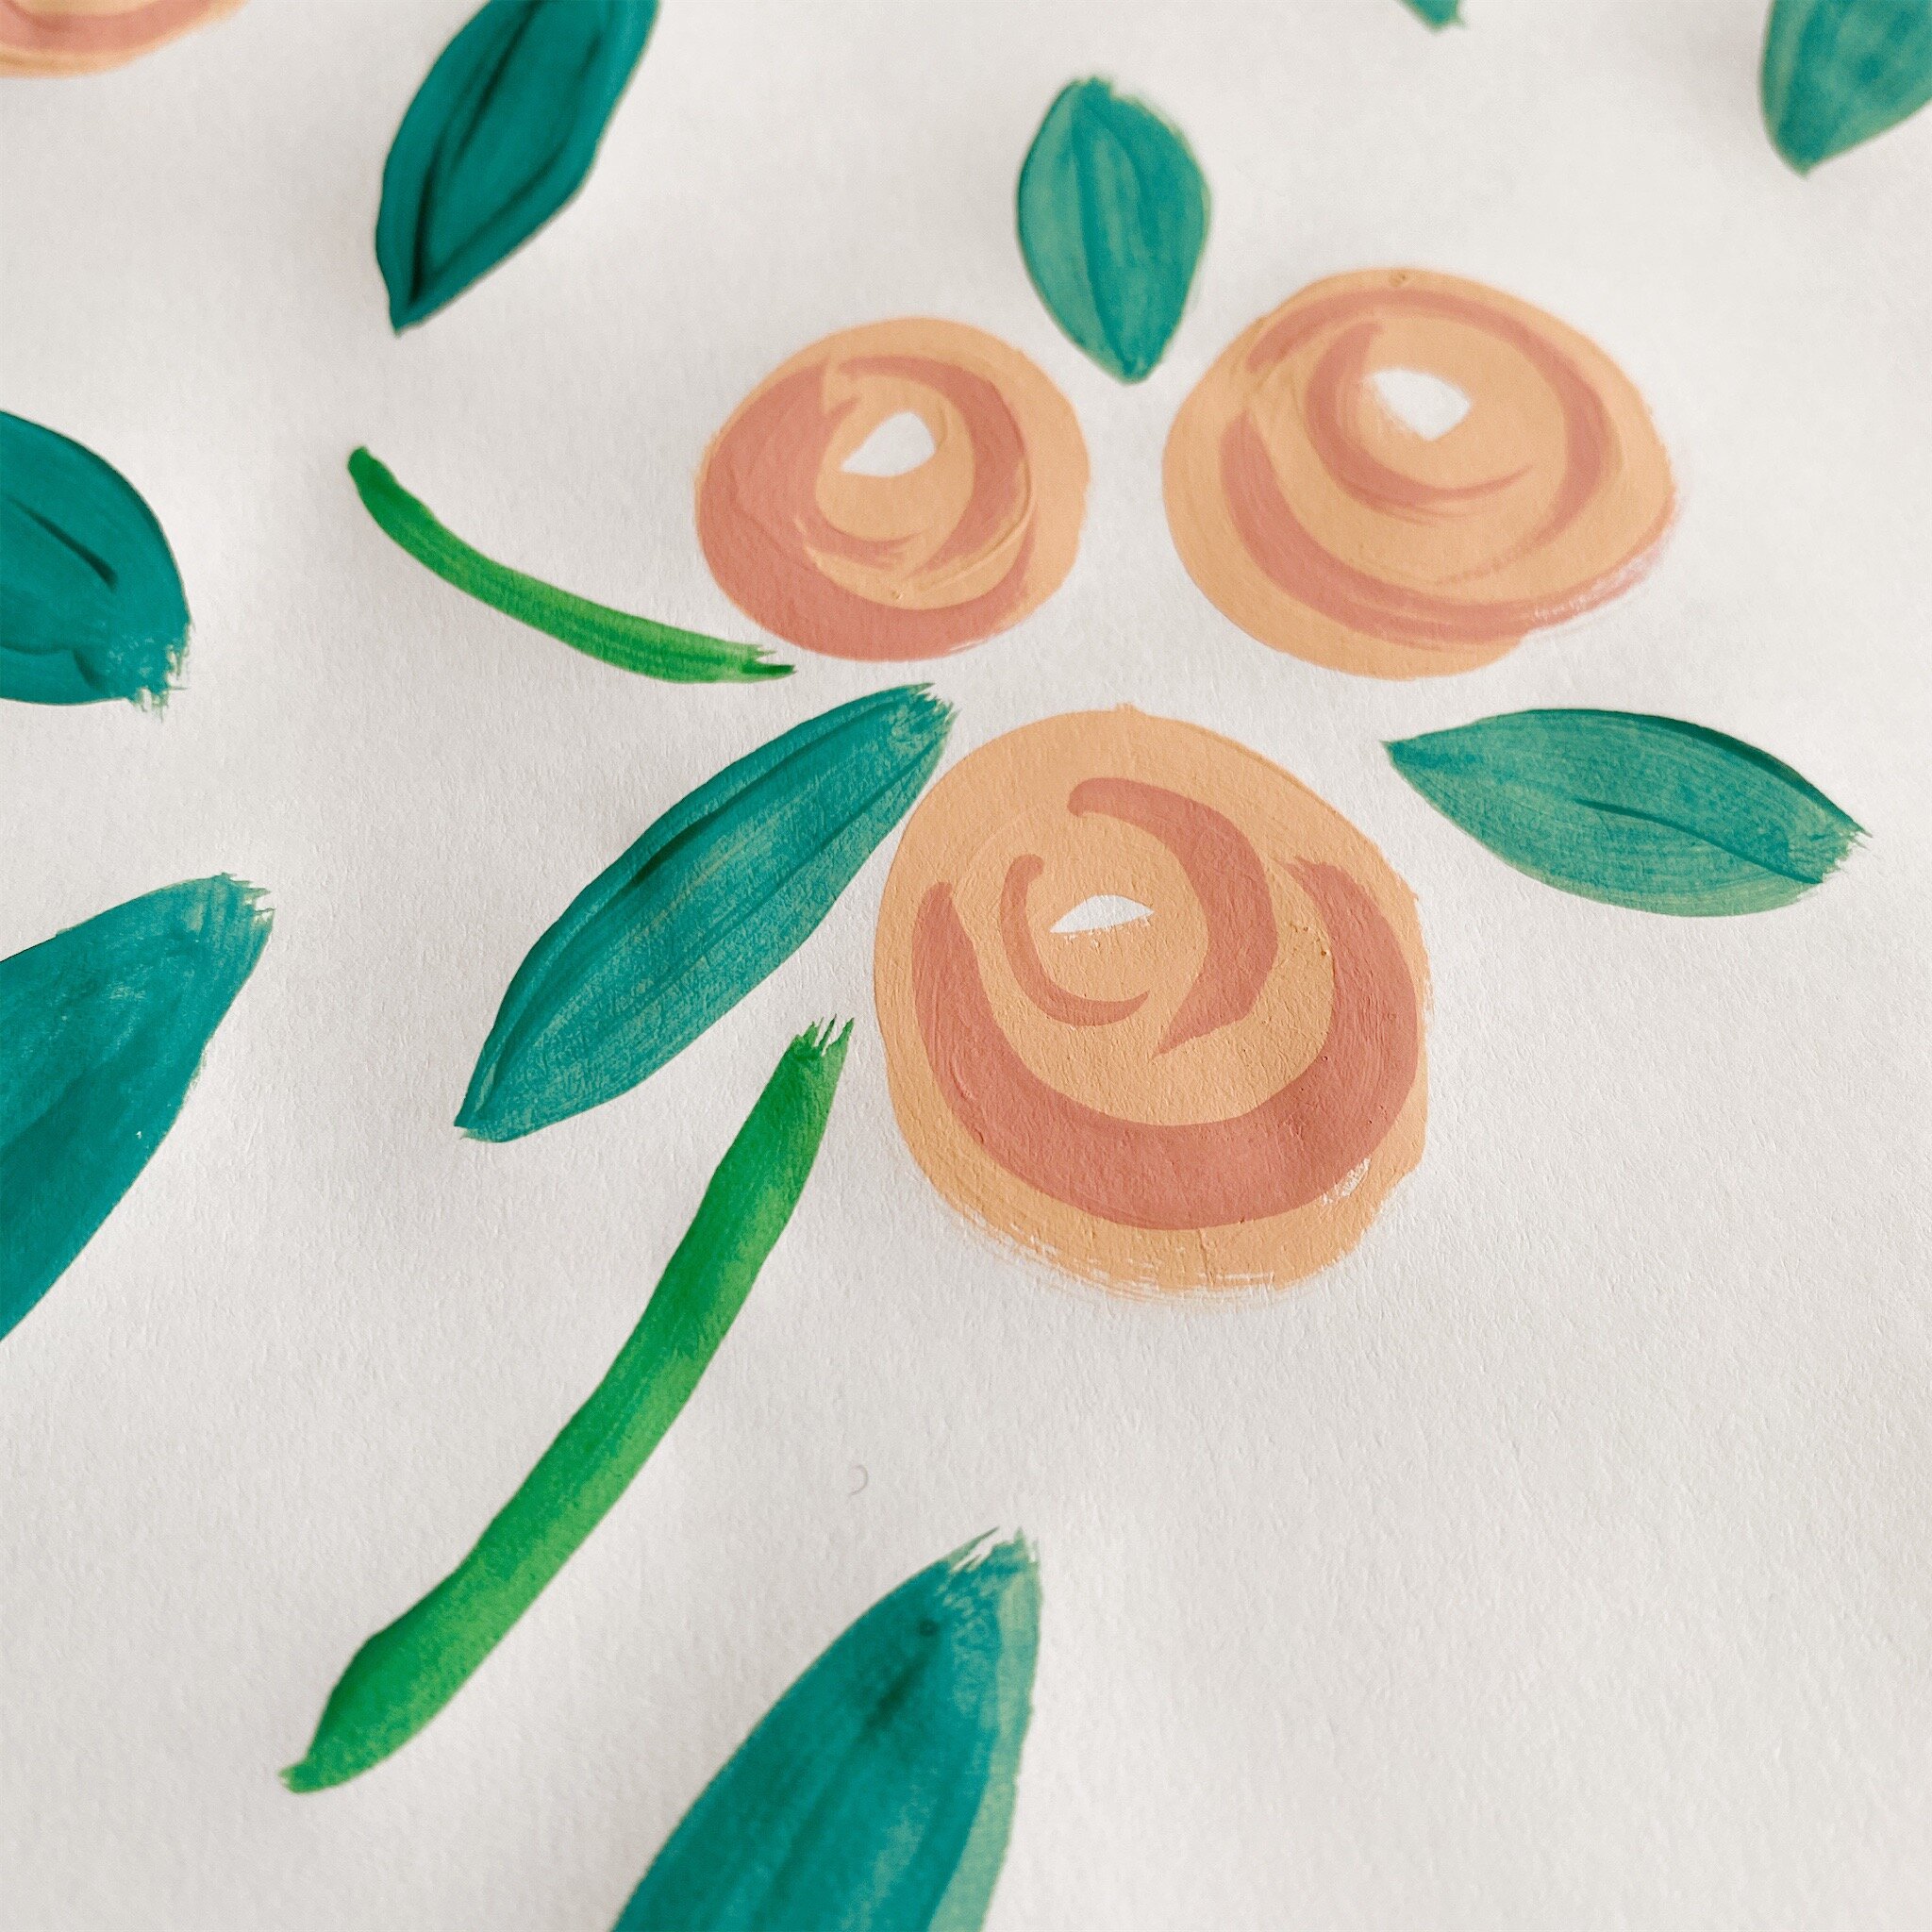
In the spaces add curved lines that will act as your berry branches, try and paint them as if they are emerging from the trio of florals and repeat across each motif.
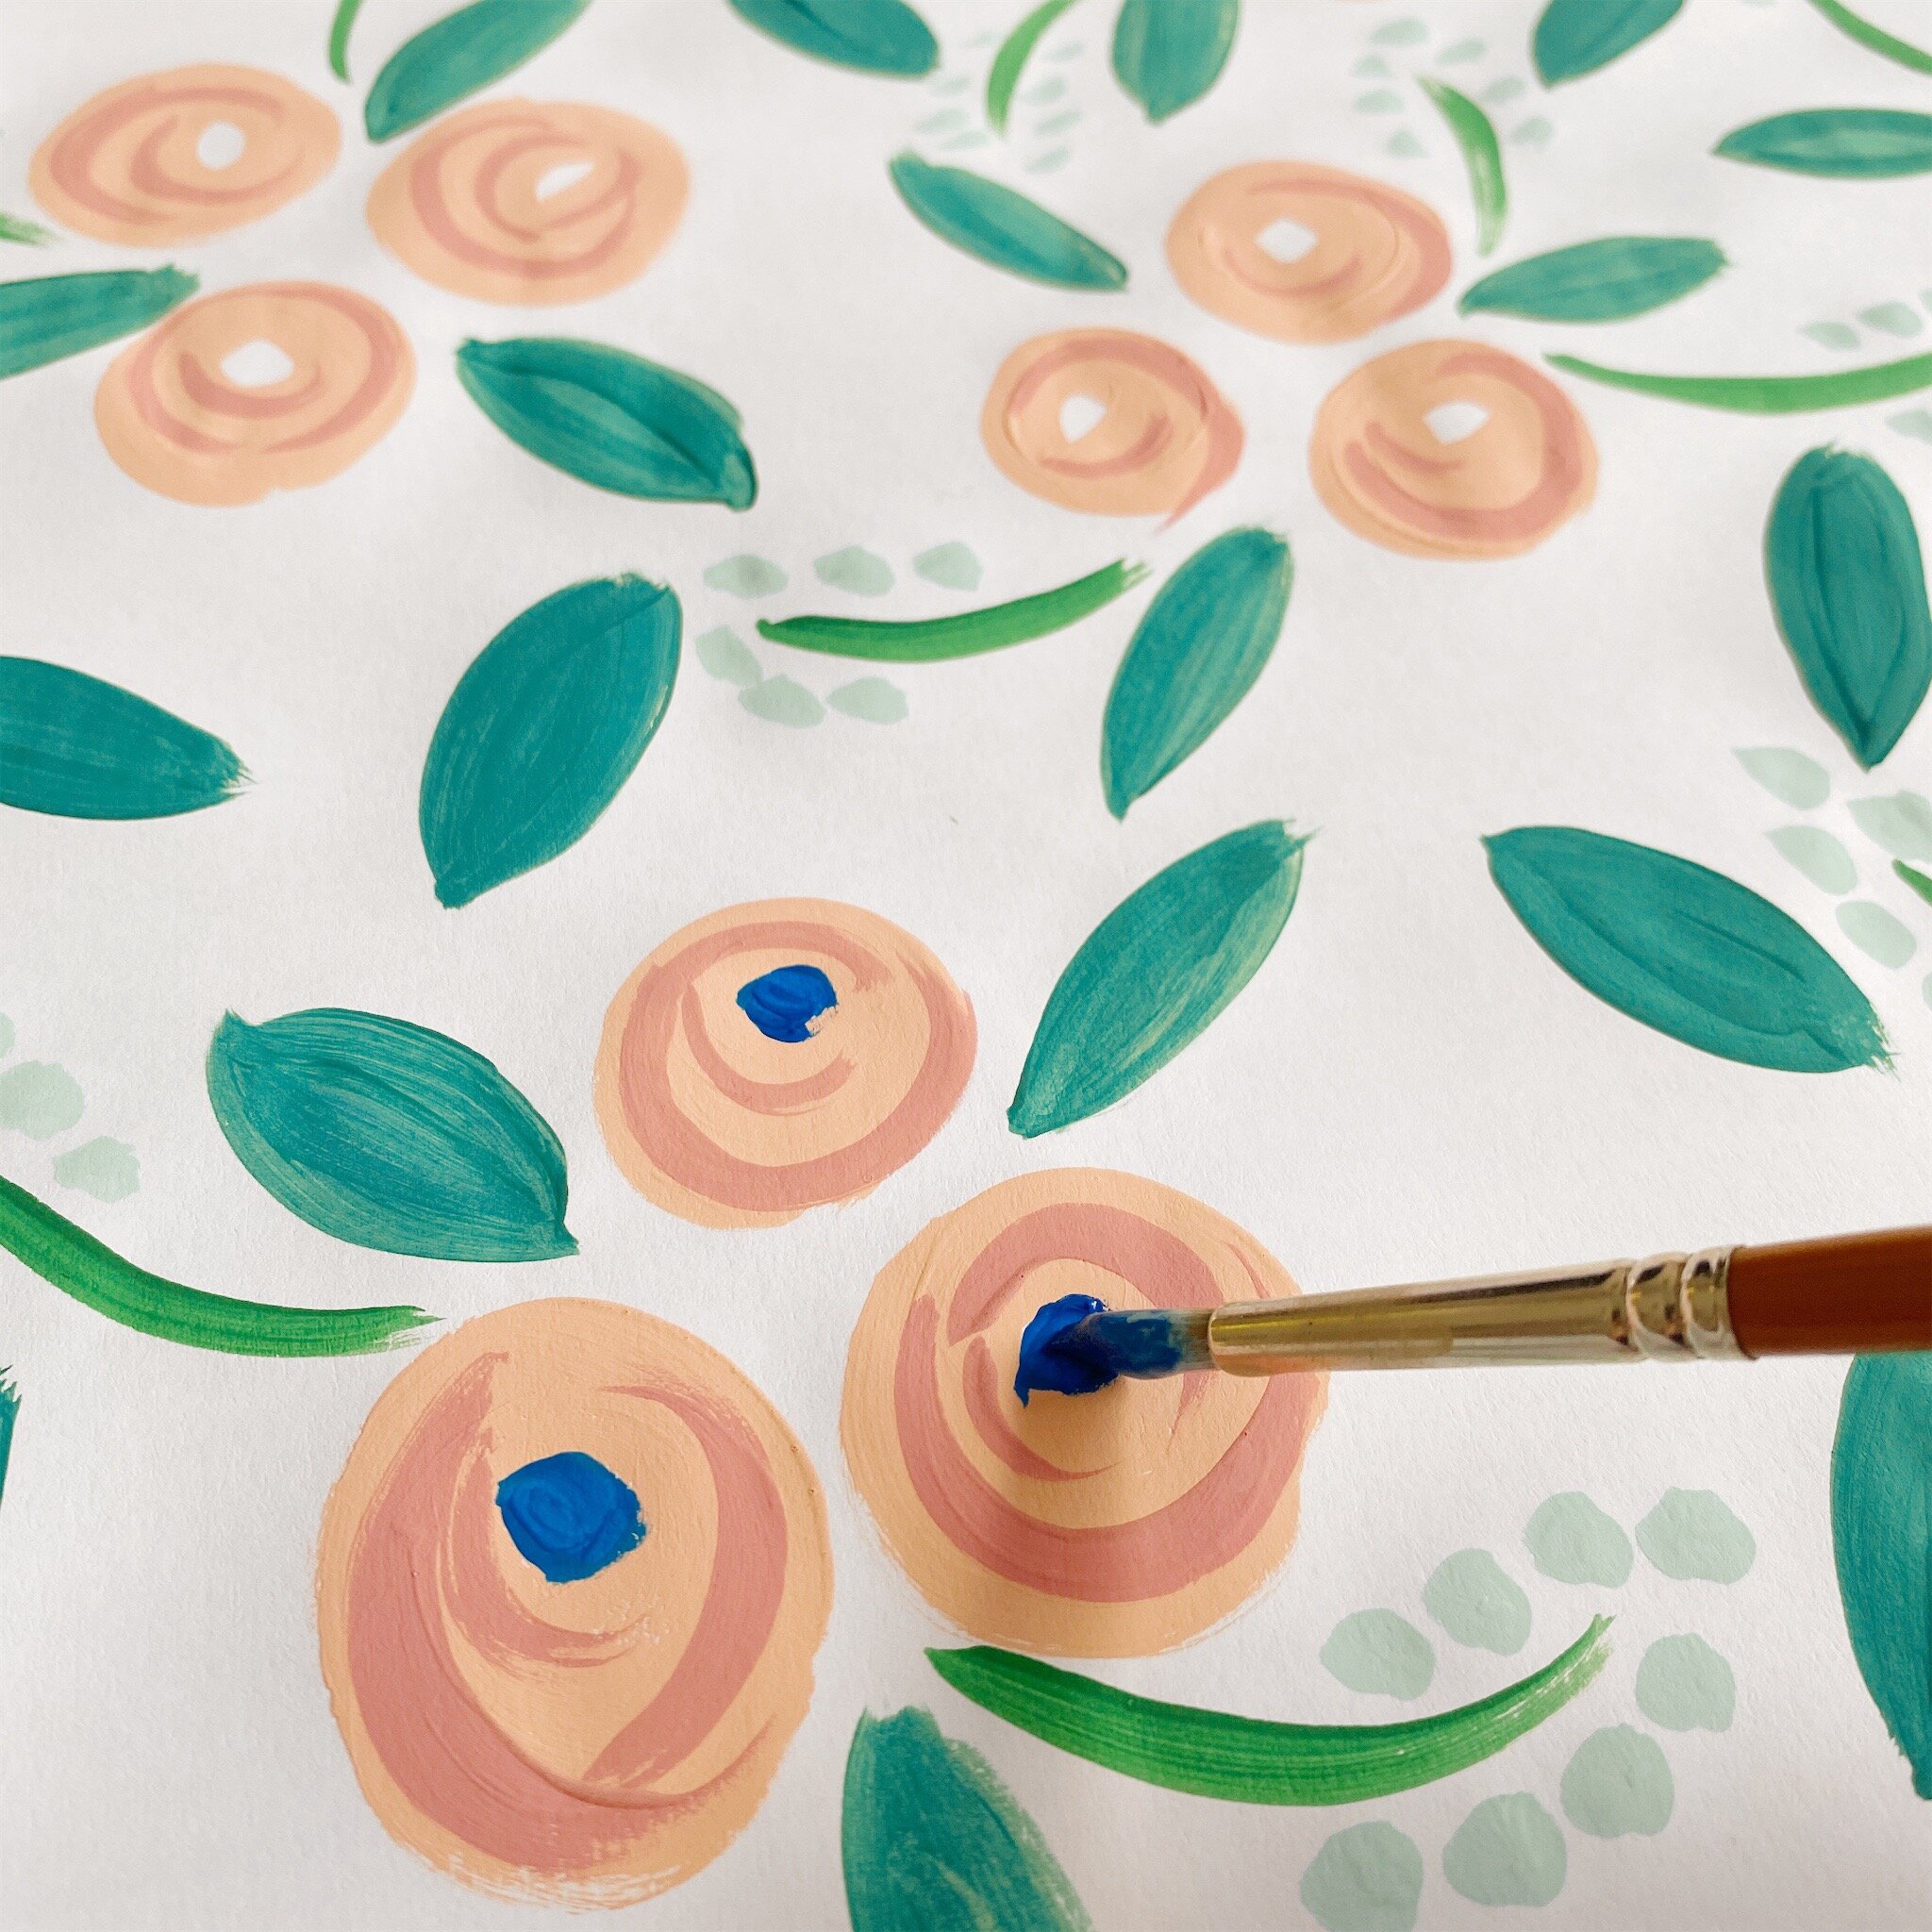
Now taking a light blue you can paint in the berries up the branches by just adding simple dots along the branch stem. Your florals should be dry now although if you have used watercolour they make take slightly longer. Taking a dark blue colour in the small circles you left inside each of them to give your floral its centre.
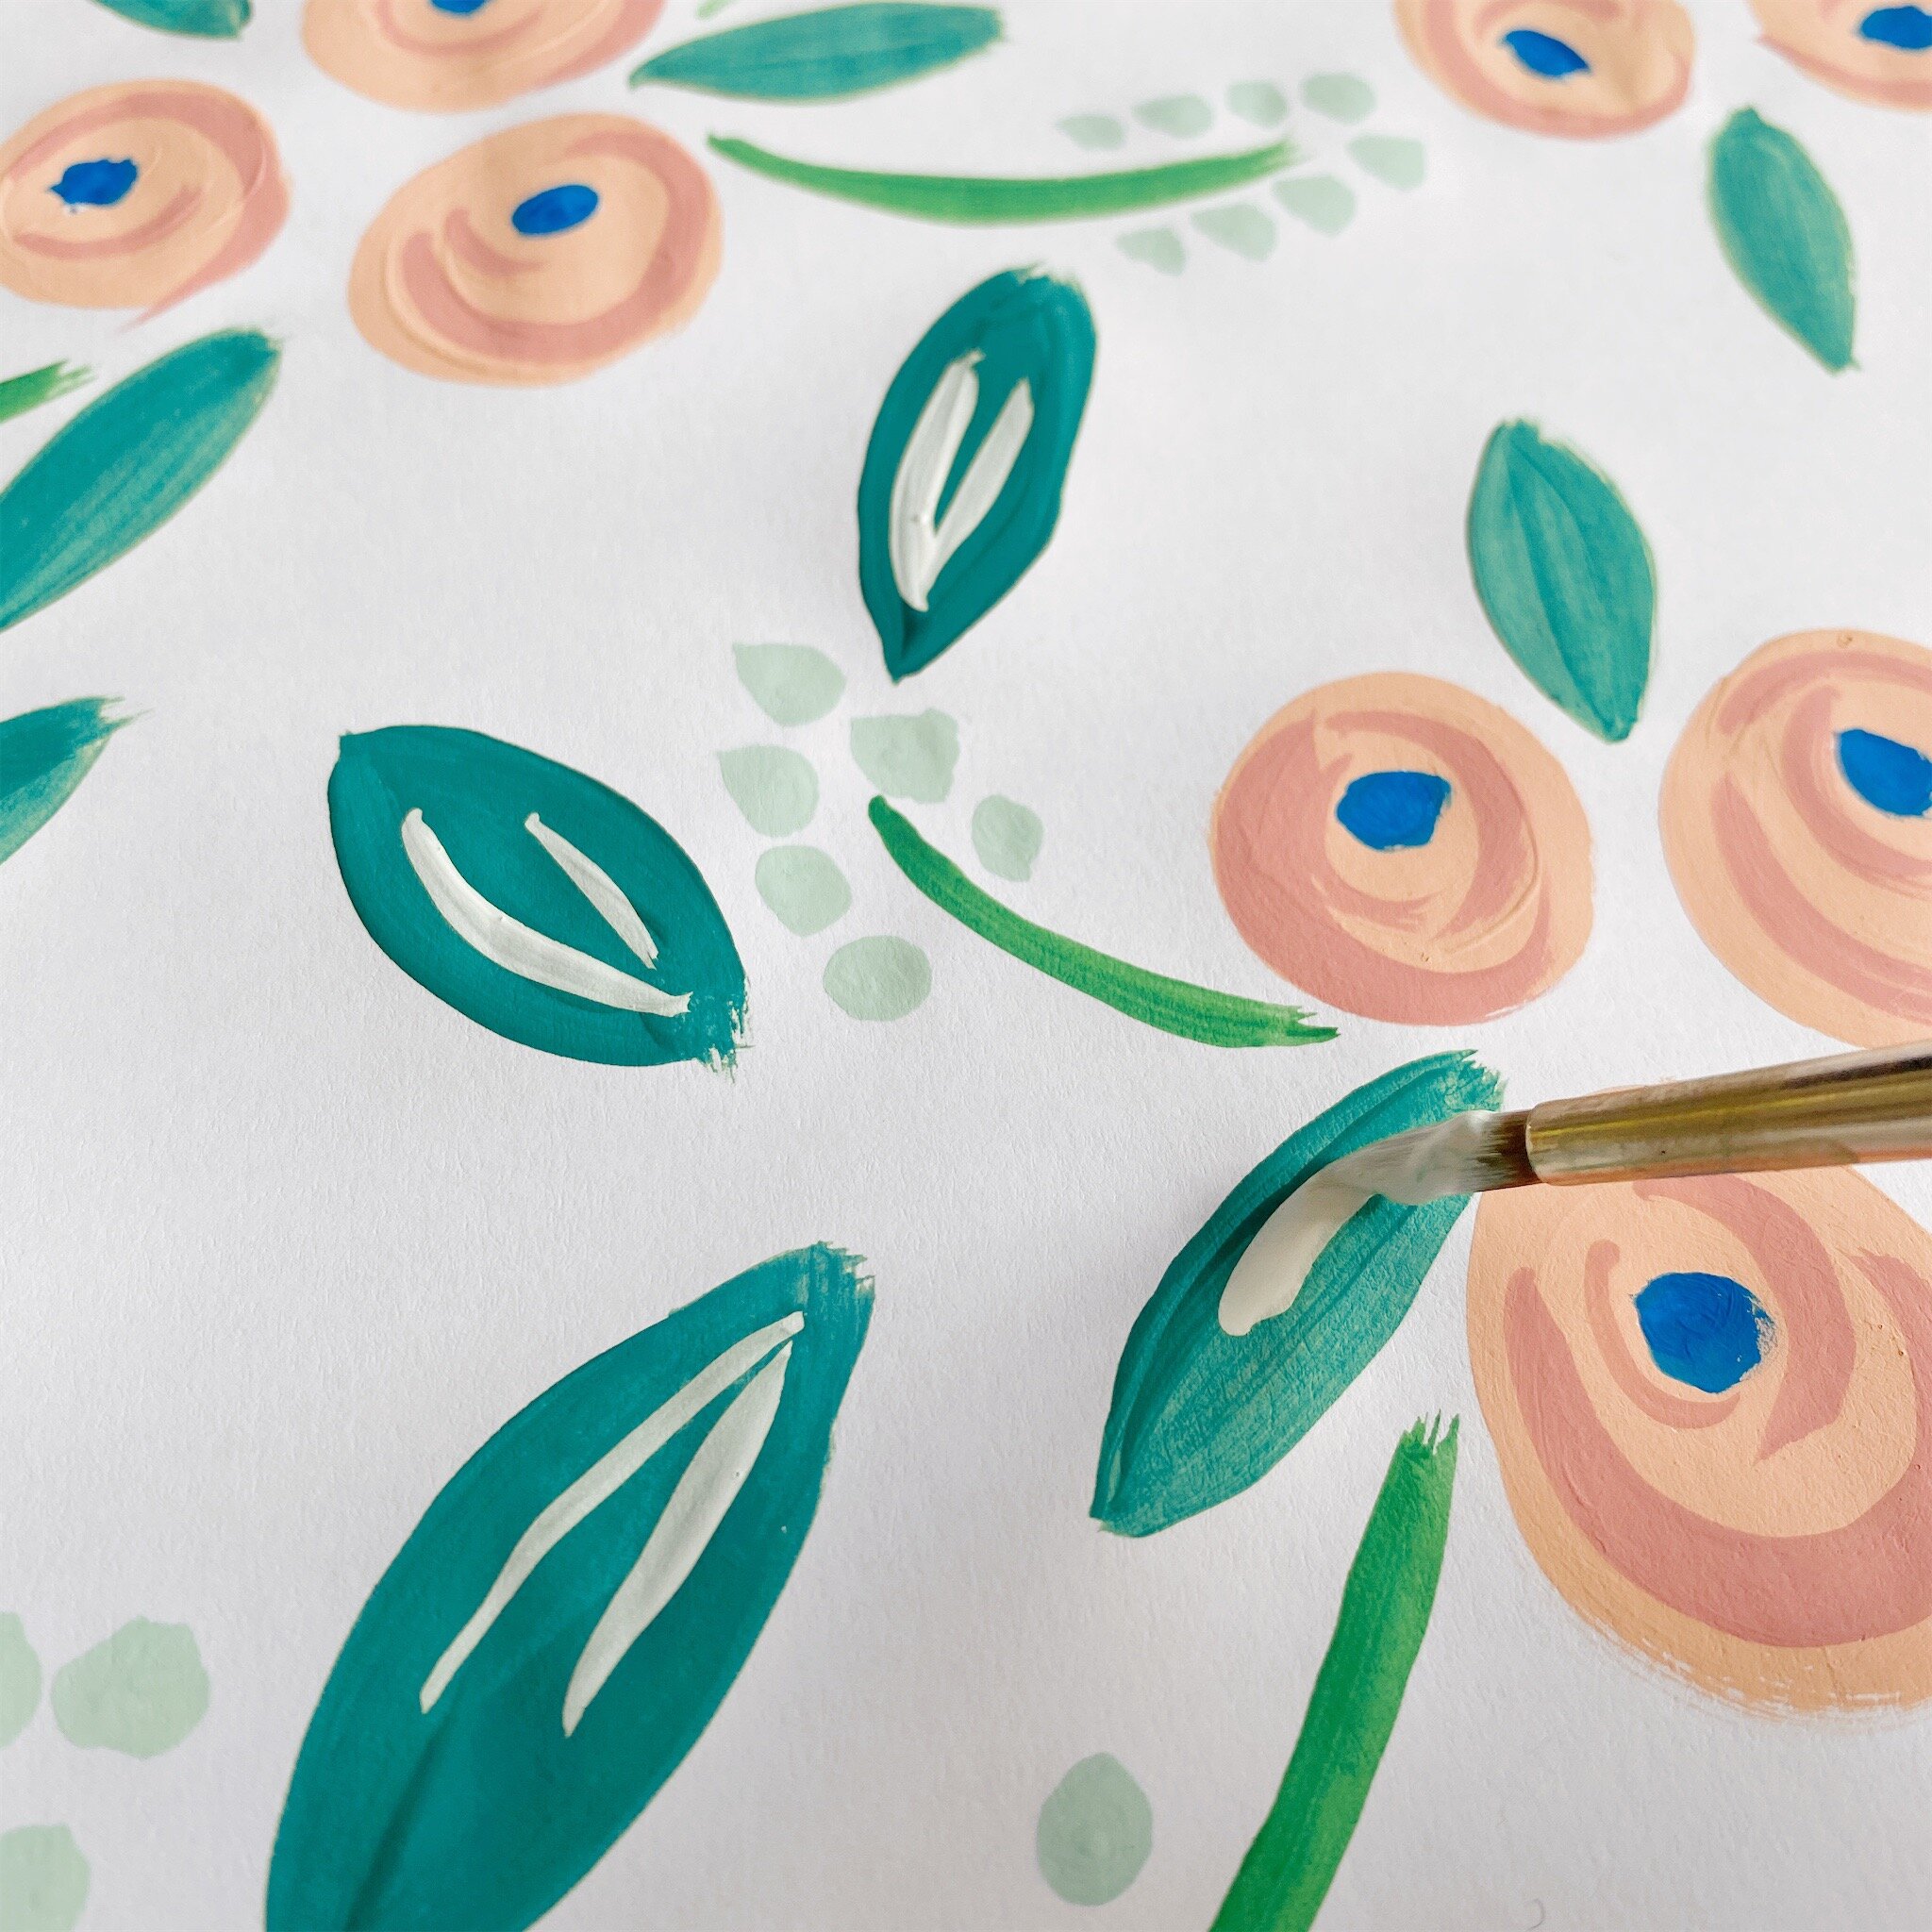
Finally take a white paint and add simple line details to your leaves, by painting two curved lines up from one point of the leaf with the light colour.
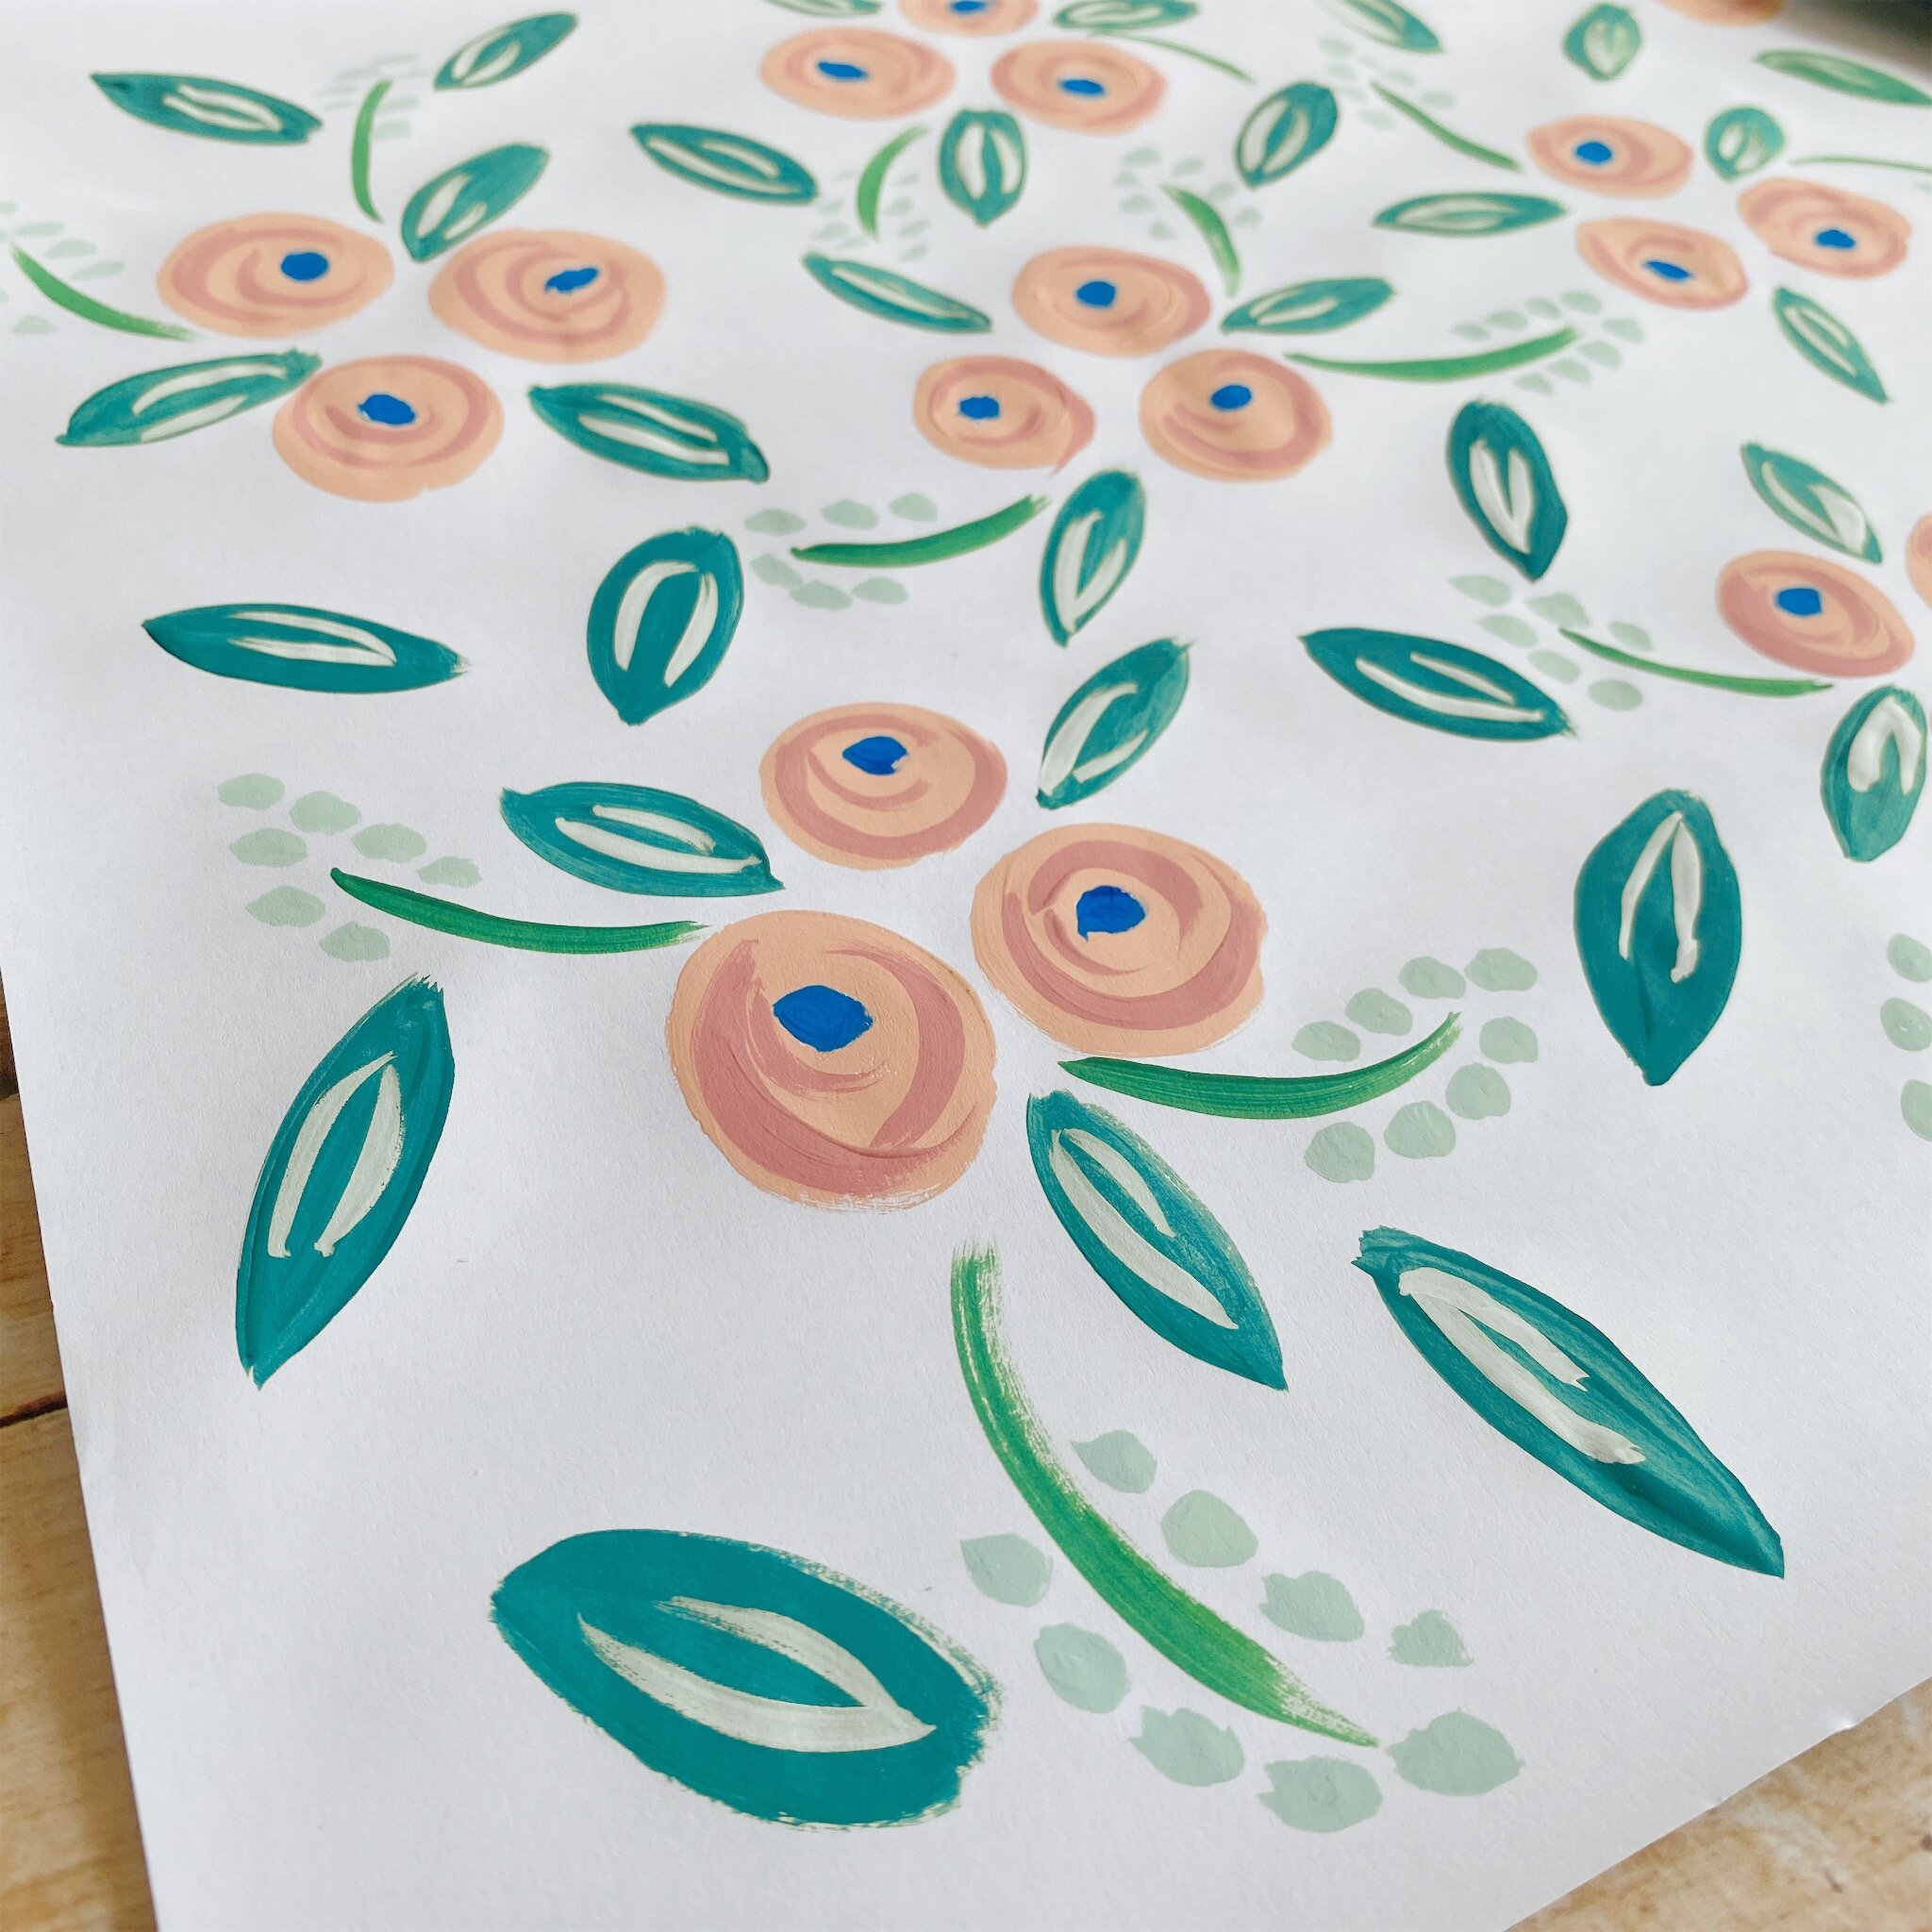
Leave to dry before wrapping your gifts, for an extra touch add a fresh flower or foliage to your wrapped gift!
